

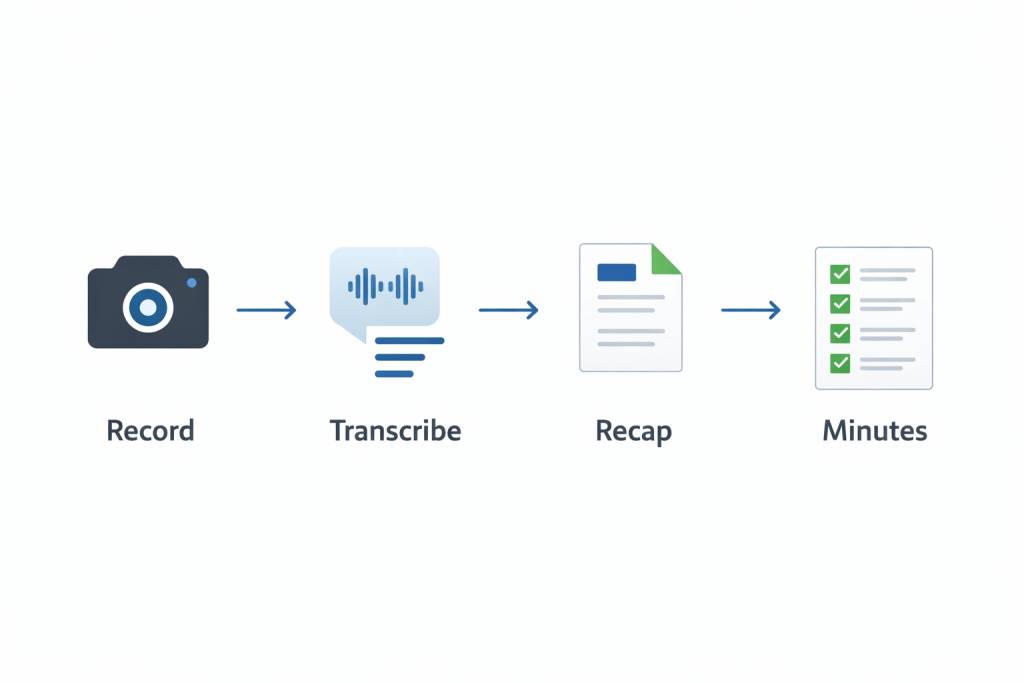
If you’ve ever finished a meeting thinking, “What did we actually decide?” you’re not alone. The fastest fix is a simple workflow: record the call, generate a transcript, then turn that transcript into clear minutes and actions.
This guide shows how to record and transcribe on Teams (and how to transcribe a meeting on Zoom), plus a practical minutes template you can copy, a “free minutes” approach, and the most common fixes when buttons mysteriously disappear.
If you’d rather skip the fiddling and get a clean, speaker-labelled transcript that’s ready to share, upload your recording here: Transcription Services.
Recording vs transcript vs minutes (quick clarity)
- Recording = audio/video you can replay (useful for proof and review).
- Transcript = the words turned into text (great for searching and quoting).
- Meeting minutes = the outcome (decisions, actions, owners, deadlines).
A transcript is the raw ingredient. Minutes are the finished dish.
Before you press “Record”: the 2-minute prep that improves accuracy
Get consent and set expectations
At the start of the meeting, say (once) what’s happening:
- “I’m going to record this meeting and turn on transcription so we can capture decisions and actions.”
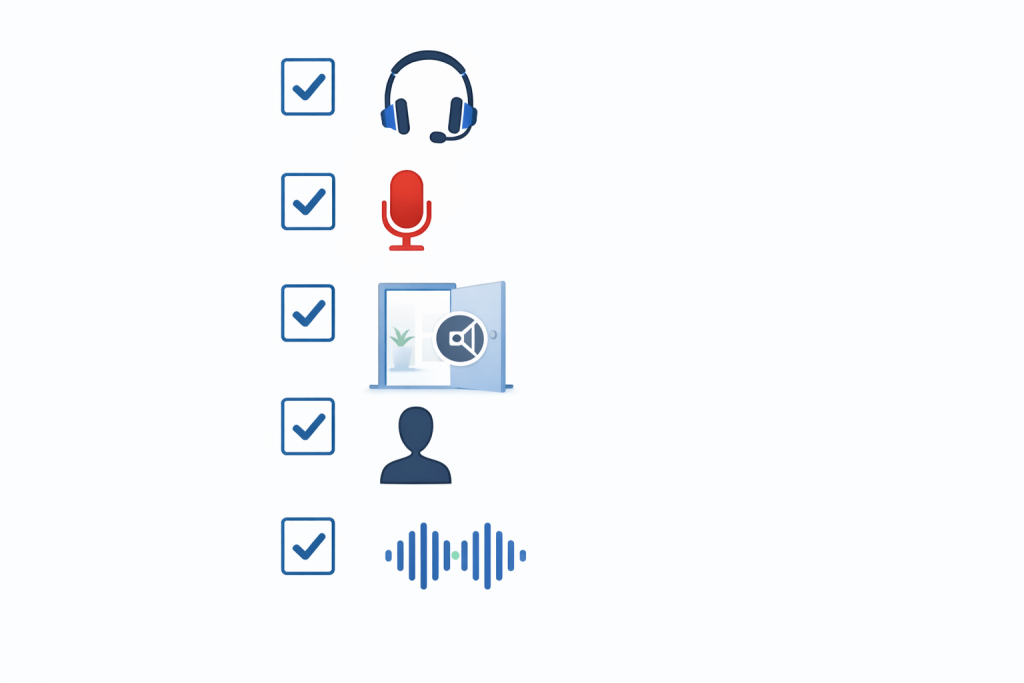
Clean audio beats clever software
Do these and your transcript quality jumps immediately:
- Use a headset or a dedicated mic
- Keep one device per room (avoid two laptops fighting each other)
- Ask speakers to pause before jumping in
- Encourage people to say their name before they talk (helps speaker labels)
Decide what you need from the transcript
Pick a format upfront:
- Edited / clean transcript (best for internal notes and minutes)
- Verbatim (best for legal, HR, investigations, or compliance)
- Timestamps (best for long meetings, research, media, or audits)
Need help choosing? Message the team here: Contact Us.
How to record and transcribe on Teams (step by step)
Start recording in Teams
- Join the meeting.
- Select More actions (the three dots).
- Choose Record and transcribe.
- Select Start recording.
Tip: In many organisations, only the organiser/co-organiser (or specific roles set by IT) can start a recording. If you can’t see it, jump to the troubleshooting section below.
Start transcription in Teams
- Select More actions again.
- Choose Record and transcribe.
- Select Start transcription.
- If prompted, choose the spoken language.
Use live captions for better participation
If you want people to follow along (or improve accessibility), switch on captions during the call. Captions also encourage clearer speaking, which improves transcript accuracy.
After the meeting: find the recording + transcript quickly
In most cases:
- The recording link appears in the meeting chat or channel once processed.
- The transcript is attached to the meeting recap/recording area (location and permissions depend on how the meeting was scheduled and your organisation’s settings).
Export and tidy the Teams transcript into minutes
Once you open the transcript, do this:
- Search for “we decided”, “action”, “next steps”, “owner”, “deadline”
- Pull those lines into the minutes template (below)
- Add a short summary at the top (3–5 bullets max)
If you want a polished version that’s ready to circulate (with consistent speaker names, clean punctuation, and optional timestamps), upload the file here: Get a transcription quote.
How to record and transcribe a meeting on Zoom (step by step)
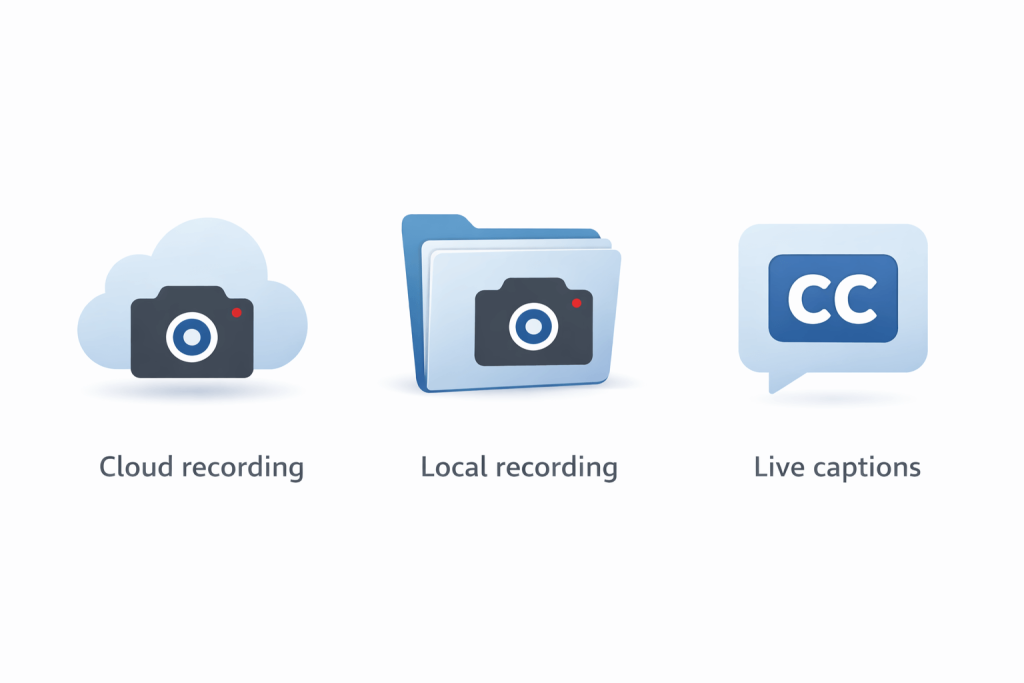
Option A: Cloud recording (best if you want Zoom’s built-in transcript)
- Start your Zoom meeting.
- Click Record.
- Choose Record to the Cloud (if available on your plan).
- End the meeting and wait for processing.
- Open the Zoom web portal → Recordings to access the recording and transcript.
Make sure transcription is enabled in settings (often under advanced cloud recording options). If it’s not enabled, you may get a recording but no transcript.
Option B: Local recording (good for “free minutes”, but you’ll need a separate transcription method)
- Click Record.
- Choose Record on this Computer.
- When the meeting ends, Zoom saves audio/video locally.
Local recording is handy if you want to avoid cloud storage, but Zoom typically won’t generate the same built-in transcript unless you use cloud transcription or another solution.
Option C: Live captions during the meeting
If your goal is accessibility and quick notes:
- Enable captions/live transcription (where available)
- Assign someone to capture decisions/actions in real time (template below)
For a reliable post-meeting document, a full transcript is still the best base.
How to record and transcribe meeting minutes free (without buying new tools)
If you need a “good enough” approach for internal use, here’s a practical free workflow:
- Record in Teams (or record locally in Zoom).
- Generate the platform transcript (Teams) or use any no-cost transcription option you already have access to.
- Skim, don’t edit everything:
- Pull decisions, actions, and owners only
- Add timestamps for anything sensitive or contentious
- Circulate minutes, not the transcript (most teams only need outcomes)
This saves time while keeping the paper trail.
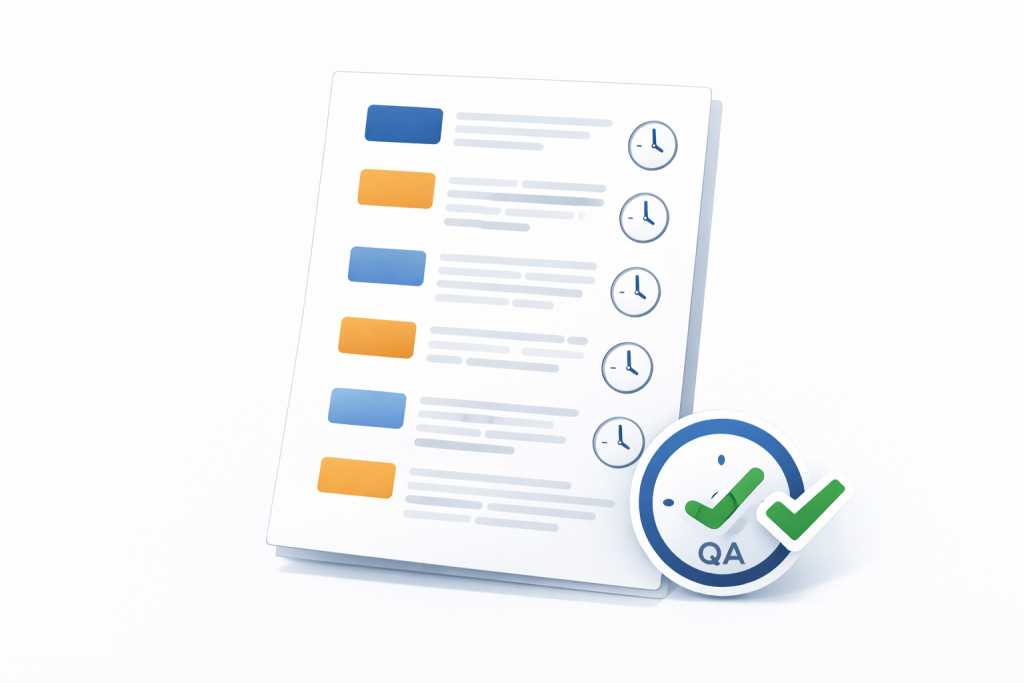
Copy/paste meeting minutes template (built for Teams + Zoom transcripts)
Meeting:
Date/Time:
Attendees:
Purpose (one line):
Summary (3–5 bullets)
Decisions
- Decision:
Owner:
Rationale (optional):
Timestamp (optional):
Actions
- Action:
Owner:
Due date:
Notes:
Timestamp (optional):
Risks / blockers
Parking lot (topics to revisit)
Next meeting
- Date/Time:
- Agenda draft:
If you’d like us to deliver minutes in this exact structure (with clean speaker labels and consistent terminology), send the recording via: Transcription Services.
The “90-second clean-up” method (turn a transcript into something people will read)
Open your transcript and do these searches:
- “decide”, “agreed”, “approve”
- “action”, “owner”, “I will”, “we will”
- “by Friday”, “next week”, “deadline”
- “risk”, “issue”, “blocked”
Then:
- Paste the relevant lines into Decisions and Actions
- Rewrite each action into a single clear sentence
- Confirm owners and due dates (don’t guess)
Common problems (and quick fixes)
“I can’t see Start recording / Start transcription”
Likely causes:
- You’re not the organiser/co-organiser/presenter role allowed to record
- Your organisation has disabled recording/transcription
- You joined as a guest/external user with limited permissions
Fix:
- Ask the organiser to start it
- Ask IT to enable meeting recording/transcription policies
- If it’s urgent, record locally (Zoom) or capture minutes manually
“The transcript is messy / wrong speaker names”
Fix it fast:
- Rename speakers once (then keep consistent)
- Remove obvious filler words only if you’re producing minutes, not evidence
- Add punctuation and paragraph breaks (readability matters more than perfection)
If accuracy is critical (HR, legal, clinical, compliance), don’t rely on raw output. Use a human-reviewed transcript: Upload your recording.
“People talked over each other”
Two options:
- Accept a less clean transcript and focus on decisions/actions only
- Improve the next meeting: one speaker at a time + use “raise hand” or a moderator
Privacy, compliance, and professional standards
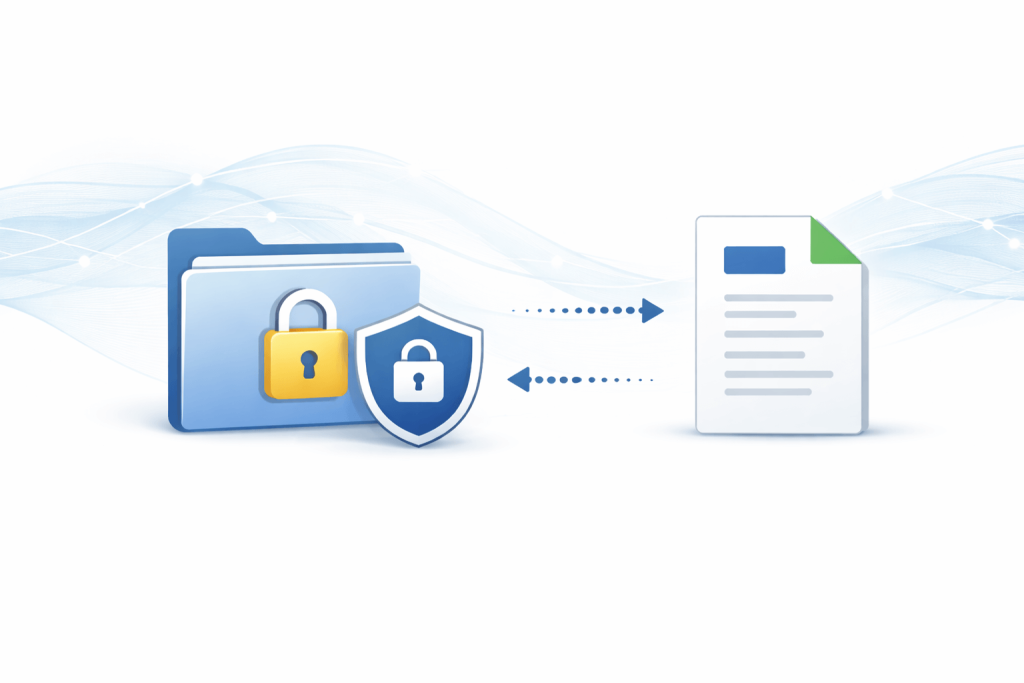
Recording meetings can be sensitive. A few best-practice rules:
- Always notify participants recording/transcription is on
- Keep sharing limited to people who need access
- Use a secure storage location aligned with your organisation’s policies
- Avoid circulating raw transcripts externally unless necessary
If you’re handling confidential calls and want a controlled workflow, Transcribe Lingo can support secure transfer, NDAs, and carefully reviewed transcripts for internal and external stakeholders: Contact Us.
When to choose a professional transcript (and what you’ll get)
Built-in transcripts are great for quick recall, but professional transcription is worth it when you need:
- Clean, readable minutes for senior stakeholders
- Accurate speaker labels across larger meetings
- Consistent terminology (products, names, acronyms)
- Optional timestamps for audits, research, or legal review
- A transcript you can safely reuse (reports, proposals, training materials)
You can also check typical pricing expectations here: Price Rate.
Frequently asked questions
How do I transcribe on Teams during a meeting?
Open More actions → Record and transcribe → Start transcription. If you can’t see it, your role or organisation policy may restrict it.
How do I transcribe a Teams meeting after it ends?
Use the meeting recap/recording area in Teams. The transcript is typically available alongside the recording, depending on how the meeting was scheduled and your organisation’s settings.
How do I transcribe a meeting on Zoom?
The most direct route is cloud recording with audio transcription enabled. After the meeting, access the recording and transcript in the Zoom web portal under Recordings.
How can I record and transcribe meeting minutes free?
Use Teams recording + transcript (or Zoom local recording) and then convert the transcript into minutes using the template above. Focus on decisions/actions rather than editing every line.
Why is my Teams or Zoom transcript inaccurate?
Most issues come from overlapping speech, weak microphones, background noise, or heavy jargon/acronyms. A headset + clearer turn-taking improves results immediately.
Can Transcribe Lingo turn a Teams/Zoom recording into polished minutes?
Yes. Send the recording and tell us your preferred format (clean transcript, verbatim, timestamps, minutes template). Start here: Transcription Services.