
Most teams don’t fail at multilingual websites because they picked the “wrong language” or a “bad translator”. They fail because the work arrives as a pile of pages with no context, no ownership, and no way to keep translations up to date once the site goes live.
A good workflow turns website translation services from a one-off scramble into a repeatable system: content moves from source to translated, reviewed, tested, published, and maintained without breaking layouts, brand voice, or customer trust.
This guide shows what that workflow looks like in practice, including templates you can copy, quality gates you can adopt, and the questions to ask before you translate a single web page.
If you’re translating a brochure site, an e-commerce catalogue, or a SaaS product, the principles are the same: prepare well, translate with context, verify in the real UI, and ship with a maintenance plan.
Website translation vs localisation (and why it matters for workflow)
Website translation converts your text into another language.
Localisation adapts the whole experience so it feels native: language, cultural expectations, formatting, visuals, UX patterns, legal content, currencies, measurements, support journeys, and more.
A workflow that treats localisation as “translation plus a few tweaks” usually misses the big risk areas:
- Pages look fine in a document, but break in the browser
- Buttons become too long, layouts overflow, navigation wraps awkwardly
- Forms reject valid addresses or phone numbers in the target region
- Product or legal claims don’t match local expectations
- Search engines show the wrong version to the wrong audience
- New content launches in English, and other languages fall behind
A good workflow accounts for all of this from the start.
The workflow blueprint (copy/paste checklist)
Use this as a one-page reference for what “good” looks like:
- Scope & success criteria agreed (markets, languages, priority pages, ownership, timelines)
- Website readiness checked (internationalisation basics, source content quality, UI flexibility)
- Translation kit built (glossary, style guide, brand voice, reference materials, exclusions)
- Content pipeline chosen (CMS export, TMS connector, repo-based strings, or managed service)
- Production translation completed (translator + editor/reviewer + in-context checks)
- Linguistic QA passed (terminology, tone, consistency, grammar, numbers, links, CTAs)
- Functional & visual QA passed (layout, forms, tracking, accessibility, performance)
- International routing & discovery implemented (language switcher, URL strategy, tags, sitemap)
- Launch staged and validated (approval gates, rollback plan, monitoring)
- Maintenance running (change tracking, translation memory, release cadence, governance)
If any step is missing, the project can still ship, but you’ll pay for it later in rework, delays, or brand damage.
Step 1: Scope the project like a product launch
Before you brief a provider (or your internal team), lock these down:
What’s being translated?
- Marketing pages (home, product, pricing, industry pages)
- Help centre and documentation
- UI strings (buttons, forms, notifications, error states)
- Legal pages (terms, privacy, cookie policy)
- Emails, onboarding flows, in-app prompts
- Media (images with text, PDFs, videos, subtitles)
Which markets and language variants?
Don’t stop at “Spanish”. Decide:
- Spanish (Spain) vs Spanish (LATAM) vs bilingual content per country
- French (France) vs Canadian French
- Arabic (with right-to-left layout and regional conventions)
What does “success” mean?
Pick 2–4 measurable outcomes that match the business goal:
- Fewer support tickets in the target market
- Higher conversion rate on priority pages
- Better trial-to-paid performance in local onboarding
- Lower bounce rate on local landing pages
- Faster time-to-publish for multilingual releases
Practical tip: Start with a “Tier 1 set” of pages (typically 15–50) and expand once the workflow is stable. This reduces the chance your first multilingual launch becomes a permanent fire drill.
Step 2: Make your website translation-ready (the internationalisation pass)
This step is where most avoidable pain lives. A translation team can’t fix a site that wasn’t built to flex.
Quick readiness checklist
- Text is not baked into images (or you have editable source files)
- Headings and CTAs are written clearly (no slang, no internal jargon)
- UI components can expand without breaking (menus, buttons, cards)
- Dates, currencies, numbers, addresses, and units can adapt per locale
- The site supports right-to-left layout if needed
- Forms accept local formats (names, phone numbers, postal codes)
- Content is structured (reusable components, consistent labels)
- There’s a clear owner for content approvals in each language
Common “workflow killers” to fix early
- Hard-coded strings inside templates where translators can’t access them
- Concatenated text (e.g., “Hello ” + {name} + “, you have ” + {count}) that breaks grammar
- No context for short strings like “Free”, “Save”, “Charge”, “Apply”
- Unclear variables and placeholders that get translated by mistake
- Inconsistent terminology across pages that makes localisation look sloppy
If you want this handled end-to-end, start with a fully managed service page like business website translation and localisation so the readiness pass is built into the project plan.
Step 3: Build a translation kit that prevents rework
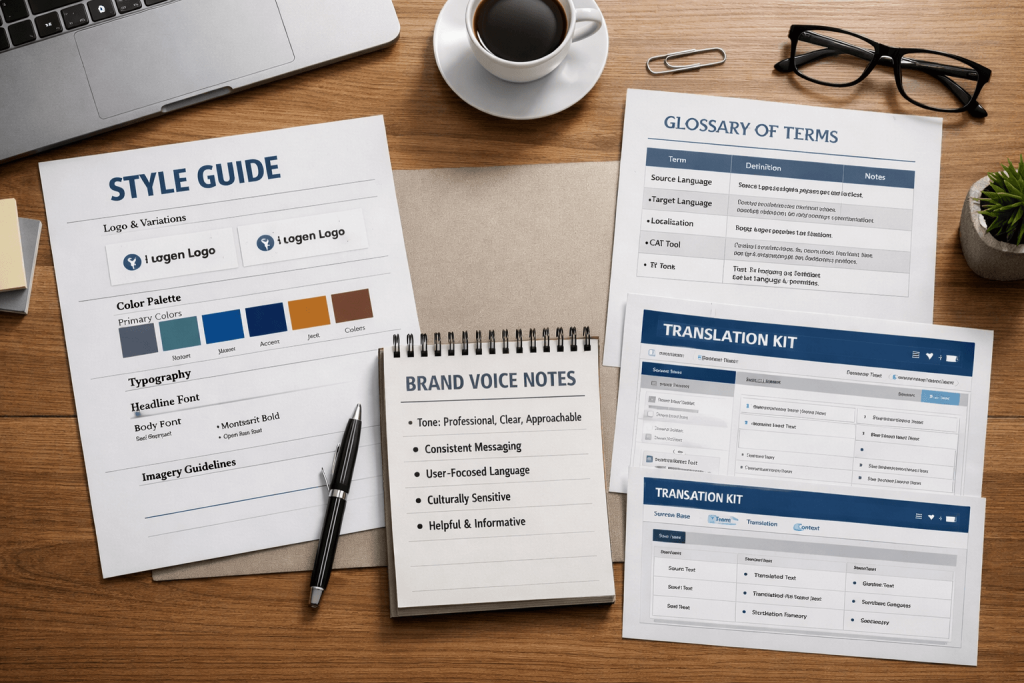
A translation kit is the difference between “accurate words” and “a local experience”.
Your translation kit should include
1) Glossary / termbase
- Product names (what never changes)
- Preferred translations for core terms
- Words to avoid (and why)
- Competitor terms you don’t want to mirror
2) Style guide
- Formal vs informal tone
- Rules for addressing the reader
- Brand voice examples (“do” and “don’t”)
- Capitalisation, punctuation, units, and date formats
- CTA style (direct vs soft, urgency rules)
3) Reference pack
- Current English pages (or source language)
- Brand guidelines (voice, imagery, claims)
- Screenshots of key UI states
- Notes on audience and positioning
- Legal disclaimers that must remain exact
4) Translation boundaries
- What must not be translated (brand names, feature names, code snippets)
- What can be adapted (headlines, examples, cultural references)
- What requires legal review
Mini-template: the 10-line translation brief
- Target market(s):
- Language variant(s):
- Primary audience:
- Priority pages:
- Conversion action(s):
- Tone:
- Must-keep terms:
- Forbidden terms:
- Legal/compliance notes:
- Stakeholders for approval:
If you’re doing campaign localisation, add marketing translation and localisation services into the mix so creative adaptation (not just literal translation) is part of the workflow.
Step 4: Choose the right pipeline (how content moves)
There are three common ways teams run web page translation services and broader website localisation. The “best” option depends on site complexity and how often content changes.
Option A: One-off export/import (good for small sites)
Best when:
- You have a limited number of pages
- Content changes rarely
- You can afford manual checks each time
Risk:
- Manual copy/paste introduces errors
- Maintenance becomes messy as updates accumulate
Option B: CMS-based workflow (best for marketing sites)
Best when:
- You publish content regularly in your CMS
- You can use structured fields and components
- You want approvals and staging environments
Key requirement:
- A clean content model and consistent page components
Option C: Connected localisation workflow (best for products and fast-moving sites)
Best when:
- You ship weekly (or faster)
- You have UI strings, app content, and web content together
- You need versioning, context, and automation
Key requirement:
- Clear ownership of strings, releases, and approvals
If you’re not sure, a provider should help you choose based on your reality, not a generic “platform pitch”. A good starting point is a consultation via Contact Us with your CMS, tech stack, and languages in hand.
Step 5: Production translation (what “good” looks like)
A reliable workflow separates translation, review, and approval instead of treating them as one step.
The core roles
- Translator: Creates the first draft in the target language
- Editor / second linguist: Checks meaning, terminology, tone, and consistency
- In-country reviewer (optional): Validates market fit (especially for regulated or high-impact content)
- Project manager: Controls versions, deadlines, queries, and approvals
What to insist on
- Translation happens with context (screenshots, page purpose, audience)
- The team can ask questions and get answers quickly
- Terminology is consistent across the entire site
- Numbers, currencies, and units are handled correctly
- Links and CTAs are checked (and adapted where needed)
- Metadata is treated as part of the experience, not an afterthought
For business-critical content, consider a provider with a structured process like business translation services where review and governance are standard, not optional.
Step 6: In-context review (where quality is actually proven)
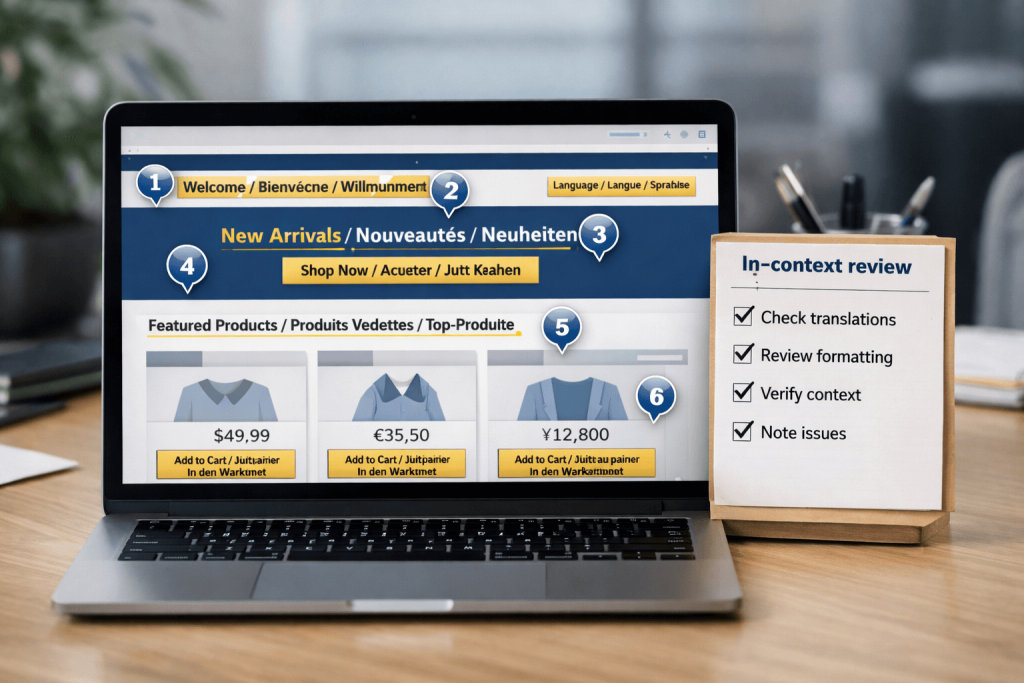
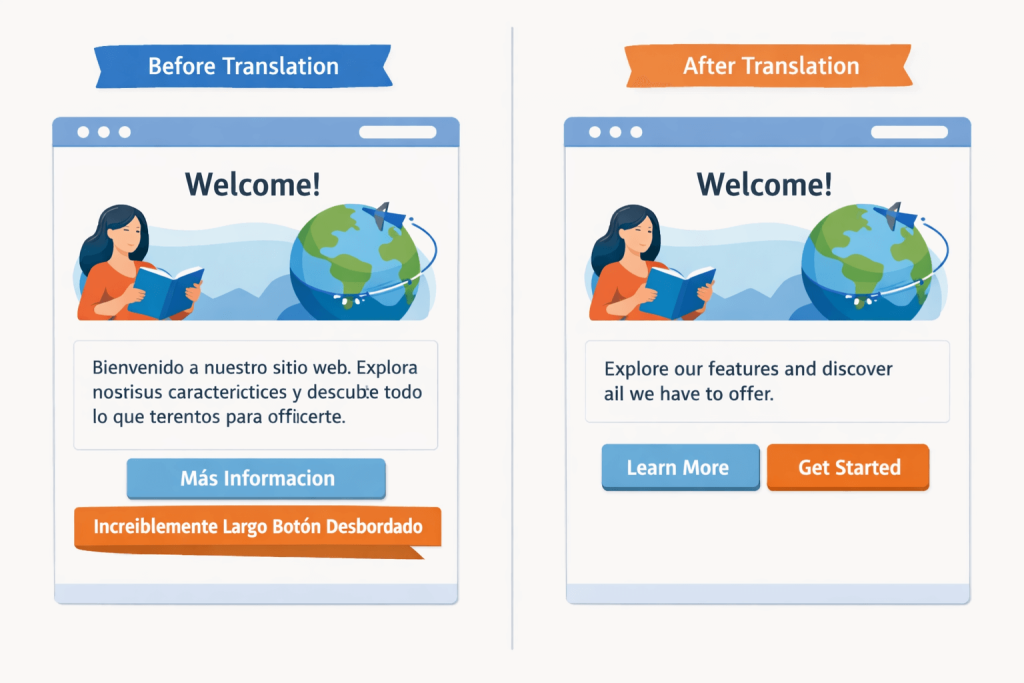
A document can look perfect and still fail on the live page.
In-context review means reviewing translations inside the real layout:
- Staging site previews
- Screenshot-based reviews of key templates
- UI flows (forms, checkout, onboarding)
- Mobile breakpoints, not just desktop
The “localisation QA” checklist
Language & meaning
- Terminology matches the glossary
- Tone matches brand voice
- No awkward literal phrasing
- Numbers, dates, and units are correct
- No untranslated fragments or duplicated strings
UX & layout
- Buttons and menus don’t overflow
- Line breaks look natural
- Right-to-left layouts render correctly (if applicable)
- Icons and visuals still make sense culturally
Functionality
- Forms accept local formats
- Confirmation emails render correctly
- Links go to the right local pages
- Tracking parameters don’t break
- Error messages are clear in the target language
Accessibility
- Page language is correctly declared
- Alt text is localised where relevant
- Headings and labels remain meaningful for screen readers
Step 7: International routing and discovery (don’t ship a “hidden” website)
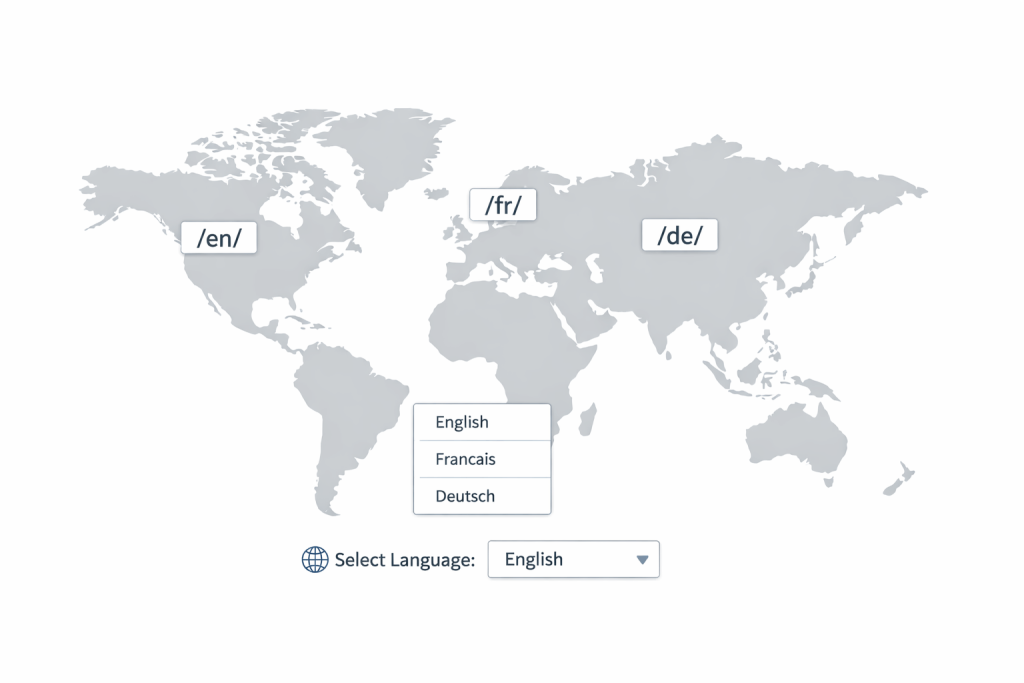
Even the best translations won’t perform if users can’t find the right version.
A good workflow includes a technical pass that covers:
- URL structure per language (and consistency across the site)
- Language switcher behaviour (and whether it remembers preferences)
- Canonical strategy across local versions
- Implementation of language/region signals (such as hreflang)
- Local sitemaps and indexation checks where relevant
Avoid this common mistake: auto-redirecting people based only on IP can frustrate users, confuse crawlers, and create support headaches. Prefer a visible, predictable switcher and clear URL structure.
Step 8: Launch like you mean it (staging, approvals, rollback)
Treat multilingual launch like any other release:
Recommended launch gates
- Content lock for Tier 1 pages (small freeze window)
- Final in-context review on staging
- Functional QA of forms and critical flows
- Sign-off by market owner (or designated reviewer)
- Publish
- Monitor (traffic, errors, user feedback, support tickets)
- Fix fast (with a known owner and turnaround time)
The “48-hour post-launch sweep”
Schedule a sweep after launch to catch what only real traffic reveals:
- Broken local links
- Unexpected layout issues on specific devices
- Form validation edge cases
- Confusing microcopy in error states
- Support questions that reveal missing localisation
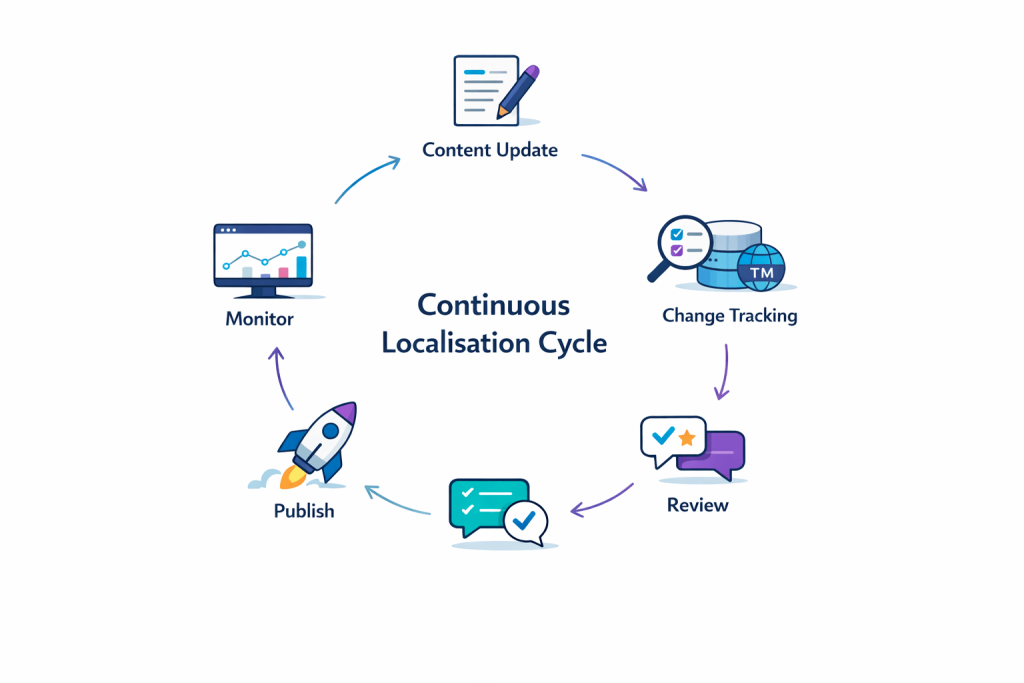
Step 9: Maintenance (the part most teams forget)
The biggest difference between average and excellent website translation services is what happens after launch.
If your site changes and translations don’t, you end up with:
- Mismatched pricing, claims, and features
- Confusing onboarding
- Outdated help content
- Local pages that quietly lose trust
A simple maintenance model that works
- Weekly or fortnightly localisation cycle for marketing updates
- Release-aligned localisation for product/UI changes
- Translation memory + glossary to keep consistency and reduce rework
- Change tracking so you only translate what’s new or edited
- One owner per language for approvals and escalation
If you want the workflow fully managed, start with a service page like Translation Services and ask for a maintenance cadence that matches your publishing rhythm.
The most common failure modes (and how the best workflows prevent them)
1) “We translated everything… and it still feels wrong”
Cause: no localisation brief, no market context, no adaptation rules
Fix: translation kit + market reviewer + clear boundaries for adaptation
2) “The words are fine, but the site looks broken”
Cause: no in-context review or layout QA
Fix: staging previews, screenshot review, template-based QA
3) “Our local site is always behind”
Cause: no maintenance plan, no change tracking
Fix: recurring localisation cycle + version control + ownership
4) “Users land on the wrong language version”
Cause: inconsistent URL strategy and routing signals
Fix: consistent structure, predictable switcher, technical validation
5) “We’re drowning in approvals”
Cause: too many reviewers, unclear sign-off rules
Fix: one accountable owner per market + defined approval windows
Three workflow examples (steal what fits)
Example 1: Brochure site (25 pages, 3 languages)
Best pipeline: CMS-based export/import with staging review
Timeline: 2–4 weeks depending on review speed
Quality gates: glossary + editor review + staging sweep
Example 2: E-commerce (2,000 products + collections)
Best pipeline: connected workflow with structured product fields
Timeline: phased launch (categories first, then long tail)
Quality gates: terminology + pricing/currency checks + search filters and checkout QA
Example 3: SaaS product + marketing site
Best pipeline: continuous localisation (strings + CMS content)
Timeline: ongoing; initial rollout 4–8 weeks
Quality gates: in-context UI review + release-aligned updates + ongoing LQA sampling
What to ask before choosing a website translation provider
Use these questions to separate “translation as a commodity” from a workflow you can rely on:
- How do you collect context (screenshots, page purpose, audience)?
- Who reviews the translation, and what does review include?
- How do you handle terminology and keep it consistent over time?
- How do you manage updates after launch?
- How do you run in-context checks on real pages?
- How do you handle localisation beyond text (formats, visuals, UX)?
- What’s your process when translators have questions?
- How do you protect sensitive content (contracts, legal, pricing, strategy)?
- What does success reporting look like post-launch?
- What’s the fastest way to fix a critical issue in a live language version?
If you want a workflow-first approach (not just “files in, files out”), start with business website translation and localisation and ask for a short discovery call to map your pipeline before any translation begins.
Ready to make your multilingual website feel native?
A good workflow doesn’t just produce translated pages. It produces a site you can confidently launch, measure, and maintain across markets.
If you want help scoping your rollout, building a translation kit, or running a staging-based localisation QA, reach out here: Contact Transcribe Lingo.
Prefer to start with a quick brief? Share your pages and target languages and we’ll recommend the fastest workflow that still protects quality.
FAQs
What do website translation services include?
Website translation services typically include translating web page content into target languages, plus optional localisation support such as cultural adaptation, terminology management, in-context review, and ongoing updates as your site changes.
How are web page translation services different from full website localisation?
Web page translation services are often limited to converting text on specific pages. Full localisation adapts the entire user experience, including formatting, UX patterns, imagery, legal content, and technical setup so each version feels native.
How long does website localisation take?
It depends on site size, languages, review speed, and technical readiness. A small marketing site can be ready in a few weeks, while e-commerce catalogues and SaaS products often roll out in phases with ongoing updates.
Do I need a glossary and style guide for website translation?
Yes, if you want consistent terminology and brand voice across pages. A glossary prevents key terms from changing translation-to-translation, and a style guide keeps tone, formality, and CTAs aligned across languages.
How do I keep translations updated after launch?
You need a maintenance cadence, change tracking, and ownership. The best workflows translate only what’s new or edited, reuse existing translations where appropriate, and run light QA checks on each update.
How can I avoid broken layouts after translation?
Use in-context review on staging, test critical templates at multiple screen sizes, and ensure your UI can expand. Many layout issues only appear in real pages, not in exported documents.