

If you’ve ever opened an auto-generated transcript and thought, “This is close… but not usable,” you’re not alone. Knowing how to edit an interview transcript is the difference between a messy block of text and a document you can confidently quote, analyse, publish, or hand to a client.
This guide walks you through a repeatable workflow to edit for:
- Accuracy (what was actually said)
- Readability (how it’s presented on the page)
- Consistency (speaker labels, punctuation, style rules)
- Usability (searchable, scannable, and easy to reference)
You’ll also find tool-specific notes for how to edit transcript in Premiere Pro, how to edit transcript in Descript, how to edit Otter transcription, how to edit transcript on YouTube, how to edit Zoom transcript, and how to edit transcript in Vimeo.
What “Edited” Should Mean (Before You Touch a Single Word)
Editing an interview transcript is not the same as rewriting it.
A strong transcript keeps the speaker’s meaning and voice intact, while removing distractions that make it hard to read or analyse. The key is choosing the right “finish level” for your purpose:
1) Verbatim (word-for-word)
Best when you need an exact record: legal, compliance, sensitive HR, or research where speech patterns matter.
Includes:
- Filler words, false starts, repeated phrases
- Nonverbal cues (e.g., [laughs])
- Interruptions and cross-talk markers
2) Intelligent verbatim (cleaned but faithful)
Best for most interviews: journalism, podcasts, market research, internal meetings.
Removes:
- Excessive filler words
- Obvious stumbles and repeated starts
Keeps: - Meaning, tone, and key phrasing
3) Readable / polished transcript (publication-ready)
Best for newsletters, public reports, marketing, and internal documentation where clarity is the priority.
This is the most “edited” version and needs clear rules so you don’t drift into ghostwriting.
Tip: Decide this upfront. Otherwise, you’ll constantly second-guess whether to keep or remove conversational elements.
Verbatim transcription services
The Two-Pass Workflow (Fastest Way to Edit Without Missing Things)
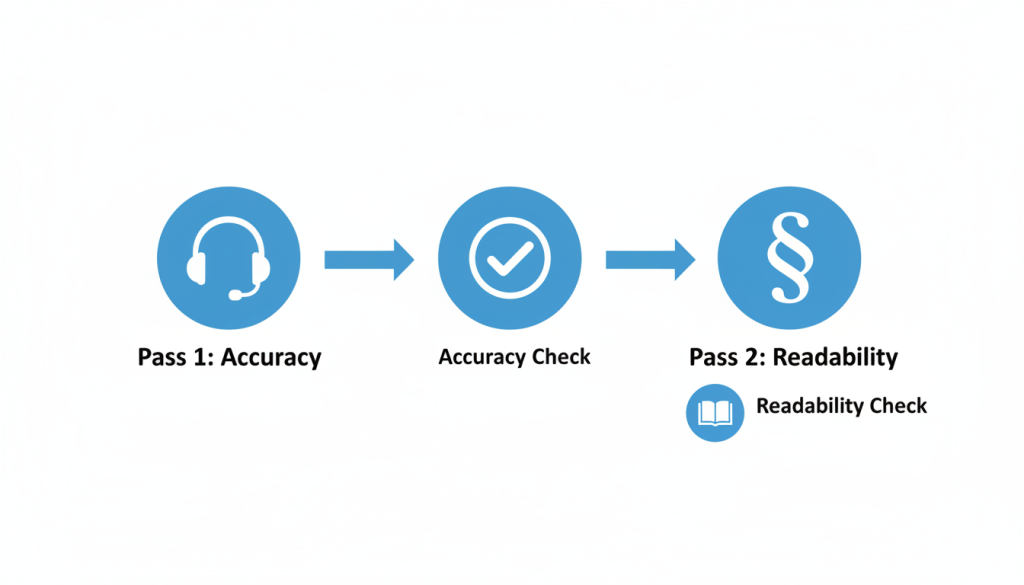
If you only remember one thing from this article, make it this: edit in passes.
Pass 1: Accuracy pass (truth first)
Your job here is simple: make sure the transcript matches the audio/video.
Focus on:
- Misheard words
- Names and organisations
- Technical terms and acronyms
- Numbers, dates, prices, measurements
- Speaker attribution
Pass 2: Readability pass (make it usable)
Now you make it readable without changing meaning.
Focus on:
- Punctuation and paragraphing
- Removing clutter (if your style allows)
- Consistent formatting and labels
- Smoothing obvious “speech noise” (not ideas)
Optional Pass 3: Final QA pass (consistency + export)
This is where you catch the small things:
- Consistent spelling of names
- Same style for timestamps
- Clean formatting for Word / Google Docs / subtitles
- A final skim for anything “off”
Pass 1: How to Fix Accuracy (Without Wasting Hours)
Start with a quick audio scan
Before you edit:
- Identify the number of speakers
- Note accents, audio quality, and interruptions
- Spot high-risk sections (crosstalk, laughter, background noise)
This tells you where you’ll need to slow down.
Use a “tight loop” listening method
When something is unclear:
- Loop a 3–6 second segment
- Slow playback slightly (avoid going too slow; it distorts speech)
- Listen once for consonants (t/k/p/s endings), once for context
- Decide: correct / mark uncertain / mark inaudible
Decide how you mark uncertainty (and stick to it)
Pick a consistent method such as:
- [inaudible 00:12:34] when you genuinely can’t hear it
- [unclear: “____” 00:12:34] when you have a best guess but aren’t sure
- [crosstalk 00:12:34] when overlapping speech blocks clarity
Consistency matters more than perfection.
The five accuracy traps to watch for
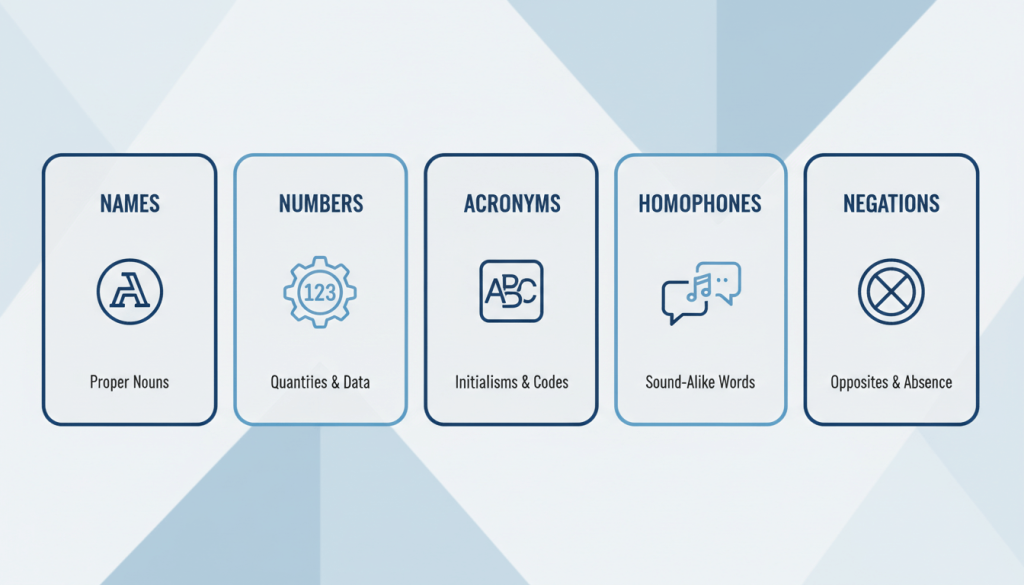
These cause the biggest real-world transcript errors:
- Names
Confirm spelling. If you can’t, flag it once and keep the spelling consistent until verified. - Homophones
“their/there”, “principle/principal”, “site/sight”, “insure/ensure”. Context decides. - Numbers
Double-check:
- dates (12/03 vs 03/12)
- amounts (£15,000 vs £50,000)
- ranges (“fifteen to fifty”)
- Acronyms
Write the first mention in full if the context needs it, then acronym after. - Negations
“can” vs “can’t”, “did” vs “didn’t” are easy to miss and change meaning completely.
Speaker Labels That Don’t Fall Apart Midway
Bad speaker labelling ruins otherwise good transcripts.
Choose a labelling system
Common options:
- Interviewer / Participant
- Host / Guest
- Speaker 1 / Speaker 2 (when identities are unknown)
- Name + role (e.g., “Amira (HR)”, “Tom (Sales)”)
Add a short speaker key at the top
Example:
- Interviewer: James
- Participant: Dr Sarah Malik (GP)
Handle interruptions cleanly
Use simple, consistent markers:
- Use an em dash to indicate interruption: “I was just about to—”
- Use [interrupts] sparingly if it adds value
- Avoid cluttering every overlap unless it matters to meaning
Pass 2: Editing for Readability (Without Changing Meaning)
This is where most people go wrong. They either:
- don’t edit enough (still hard to read), or
- edit too much (no longer what was said).
Keep the voice; remove the noise
If you’re producing an intelligent verbatim transcript, you can often remove:
- repeated “um/uh/like” clusters
- false starts that don’t add meaning
- repeated words where it’s clearly a slip
But keep:
- emphatic repetition (“I really mean it”)
- emotional phrasing
- hedges that change meaning (“sort of”, “approximately”, “I think”)
Add paragraphs where the brain expects them
A readable transcript is shaped more by paragraphing than by perfect grammar.
Use a new paragraph when:
- the speaker changes topic
- the answer shifts from context to example
- the speaker starts listing items
- a long answer hits 3–4 lines on screen
Punctuation: aim for clarity, not perfection
You’re not writing a novel. You’re making speech readable.
Helpful defaults:
- Short sentences beat long ones
- Use commas to avoid “run-on” confusion
- Use question marks for actual questions (even if the speaker’s tone is casual)
Clean up time stamps (only if they help)
Timestamps are great for:
- video editing
- legal / compliance references
- research coding
- fact-checking
They’re not always helpful for:
- publish-ready interviews meant to be read start-to-finish
If you include timestamps, choose a consistent rule:
- every speaker change, or
- every 30–60 seconds, or
- only at key moments
A Practical Transcript Style Sheet (Copy, Paste, Use)
Set these rules once and your edits become faster immediately.
Formatting rules
- Speaker labels: bold and followed by a colon
- One speaker turn per paragraph
- Use square brackets for non-speech notes: [laughs] [pause] [crosstalk]
Spelling + numbers
- Use UK spelling (organisation, analyse, programme)
- Use numerals for:
- dates, times, prices, measurements, percentages
- Use words for:
- one to nine (optional, if you want a more literary finish)
Common clean-ups (intelligent verbatim)
- Remove repeated filler clusters: “um, um, um”
- Keep meaningful pauses only if relevant: [pause]
- Keep profanity as spoken unless your brief requires redaction
Redactions (when needed)
If you must remove personal data:
- Replace with bracketed tags: [PHONE NUMBER REMOVED]
- Do not leave “…” (it looks like missing transcription rather than intentional redaction)
Tool-Specific: How to Edit Transcripts in Popular Platforms
Sometimes you’re not just editing a transcript for reading. You’re editing it inside a platform that links text to audio/video. Here’s how to avoid common mistakes.
How to edit transcript in Premiere Pro (and source transcripts)
Premiere Pro’s text-based editing connects your transcript to your media.
Best practice:
- Use transcript edits for corrections (names, misheard words)
- Use text-based edits for rough cuts only when you intend to change the timeline
If your goal is a clean reading transcript:
- Export the transcript to a text file
- Do your readability pass externally
- Keep a “corrections-only” version for re-import when needed
If you’re specifically looking for how to edit source transcript in Premiere Pro, focus on correcting the transcript attached to the source clip so corrections remain consistent across sequences that use that clip.
How to edit transcript in Descript
Descript treats text like an editing surface, which is powerful—and risky if you don’t know what mode you’re in.
Use “correct” style editing when you want to:
- fix transcription errors
- correct names and terminology
- improve captions consistency
If you delete words in the main script view, you may also remove them from the audio/video edit (depending on your workflow). That’s great for cutting, not always great for transcript preparation.
How to edit Otter transcription
Otter is excellent for reviewing and correcting, especially when you need:
- speaker name tagging
- quick text edits while listening
- highlights and notes for analysis
Best practice:
- Correct names early (then use search to ensure consistency)
- Standardise speaker labels before exporting
How to edit Zoom transcript
Zoom cloud recordings often generate VTT transcripts.
You can:
- edit phrases directly in the Zoom web portal
- download the VTT and edit with a text editor for deeper formatting work
If you plan to publish or analyse:
- treat Zoom’s transcript as a draft
- do your readability pass in a document editor after accuracy corrections
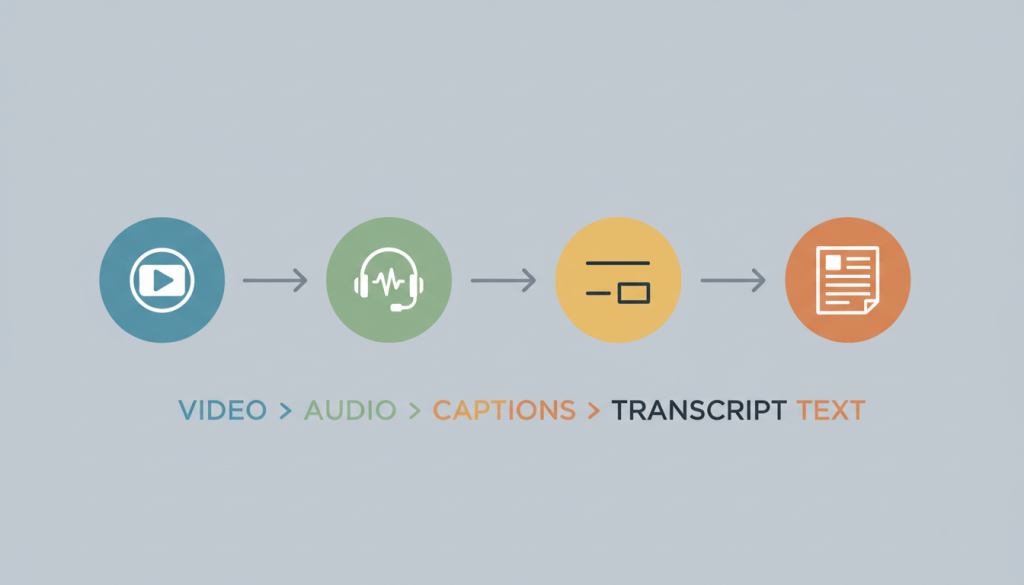
How to edit transcript on YouTube (and edit YouTube transcripts)
For YouTube, the transcript most people “see” is the captions/subtitles track.
If you want a clean transcript for reading:
- edit captions in YouTube Studio for accuracy
- then download the subtitles file and reformat it into paragraphs (optional)
This is especially useful if you’re turning interviews into blog posts, quotes, video chapters, or newsletters.
How to edit transcript in Vimeo
Vimeo transcripts are managed inside your video’s language settings.
You can usually:
- edit text lines directly
- download a file to edit timings externally if needed
For a reading transcript (not captions), you’ll likely export and then reformat for paragraphs and speaker turns.
A Quick “Before and After” Example
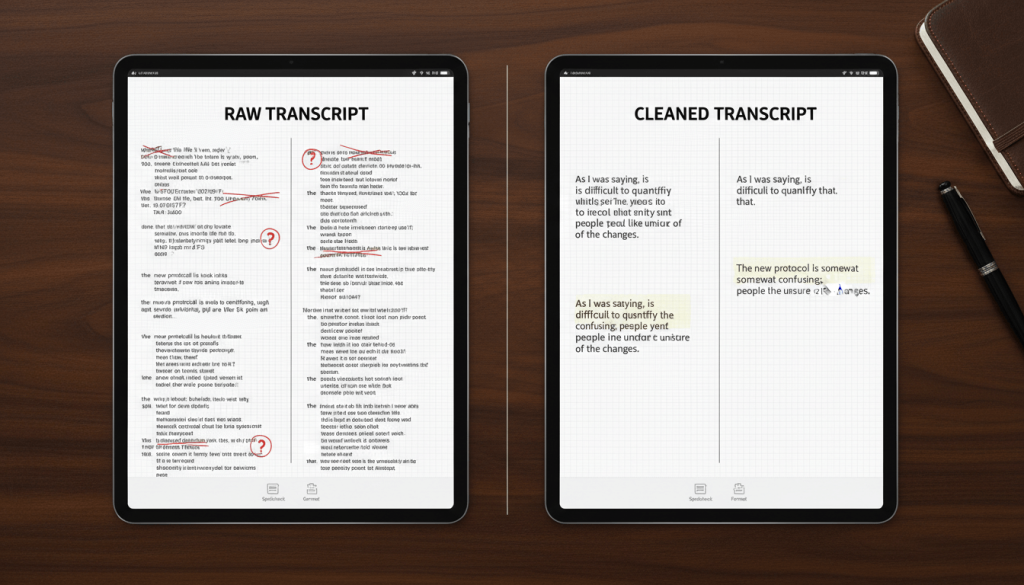
Raw (hard to read)
Interviewer: so um can you just like tell me a bit about the rollout and what went wrong there
Guest: yeah so basically we we thought we had buy in but then legal flagged it and we had to pause and then um people started doing their own version of it
Edited (intelligent verbatim, same meaning)
Interviewer: Can you tell me about the rollout and what went wrong?
Guest: We thought we had buy-in, but legal flagged it and we had to pause. After that, people started doing their own version of it.
Notice what changed:
- filler clusters removed
- sentence boundaries added
- meaning preserved
Final Transcript Editing Checklist (Use This Every Time)
Before you deliver or publish, check:
- All speaker names are consistent
- Unknown speakers are labelled consistently
- Names of people/brands/tools are spelled consistently
- Numbers and dates have been double-checked
- Technical terms are consistent (one spelling, one format)
- Inaudible/unclear sections are marked consistently
- Punctuation improves clarity (not “perfect grammar”)
- Paragraphs break at natural topic shifts
- Nonverbal tags are consistent ([laughs], [pause])
- Redactions (if any) are clearly marked
- File format matches the purpose (Word/PDF vs SRT/VTT)
- Timestamps follow one rule (or are removed)
- No accidental rewrites of meaning
- Quick skim for repeated words or missing lines
- Exported file opens cleanly on another device
When It’s Worth Getting Professional Help
If you’re editing one short interview, doing it yourself can make sense.
But outsourcing is often smarter when:
- you’re dealing with multiple speakers, accents, or cross-talk
- the transcript must be quote-accurate (legal, compliance, PR)
- you need a fast turnaround for a report or production deadline
- you’re handling sensitive recordings and want secure workflows
If you want a transcript that’s accurate, readable, and ready to use, send your recording to Transcribe Lingo and you’ll get a clean, professionally formatted file without the time sink. Upload your audio/video, share your preferred style (verbatim or intelligent verbatim), and we’ll take it from there.
FAQs
How do I edit an interview transcript quickly without missing errors?
Use a two-pass workflow: first correct accuracy while listening, then do a separate readability pass for formatting and flow.
How do I edit a transcript without changing what the speaker meant?
Only remove “speech noise” (filler clusters, false starts) and avoid rewriting. Keep hedges like “roughly” or “I think” when they affect meaning.
How to edit transcript in Premiere Pro without messing up the timeline?
Make corrections to the transcript text for accuracy, but avoid deleting lines if you don’t intend to change the cut. Export for readability edits.
How to edit transcript on YouTube to fix auto-captions?
Edit subtitles in YouTube Studio for accuracy, then download the subtitle file if you need a clean reading transcript.
How to edit a Zoom transcript after a meeting?
Edit in the Zoom web portal for quick fixes, or download the VTT file for deeper edits and formatting.
How to edit Otter transcription for speaker names?
Tag speakers early, then search your transcript for each name to ensure consistency before exporting.